If users wants to interact with any other domain’s user without showing his original ID or any user wants two email id(with the same mailbox) for better communication with other users then adding alias is the perfect option to give user an alias email ID.
Transcript:
Hello Guys, Welcome to my tutorials in Google apps. In this tutorial we will discuss how we can add an alias for a user in Google apps. We go to users module here, if we click on a user’s name. I will be redirected to user’s profile. Here you see there is an account option, if we click on account you can see there are various details which are listed, one of then is aliases, Aliases basically means you can add another email ID to which users can receive the mails and mails will be redirected to the primary email ID. So like we can have 2 email address with the same domain name and on both the email address the emails from outgoing server can be redirected. Suppose i add an alias here. I have to click on Add an Alias option, If you have any secondary domains you can see to choose from a list here. Suppose i add for saswat…sas@a.lannisteronline.com and i save changes. So changes to this user has been saved. Now you see sas@a.lannisteronline.com is added as an alias to user profile. Now if mail is sent to this email id or alias email id, the mail will reach the inbox of this user so i think you understood what an alias means.
Thank you
Descriptive Explanation:
I think above video has explained everything about adding alias for users but if you are still confused then please follow the below steps provided with screenshot:
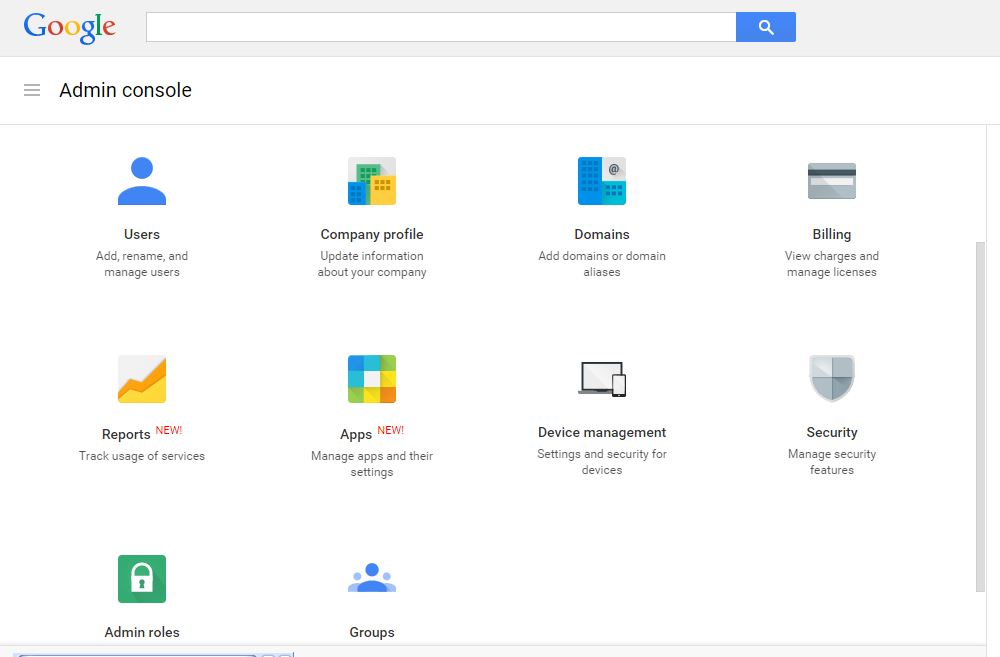
For adding alias first you have to go to users console from admin dashboard.
In the users console page you can see the users list , select the user (first select the Ou in which the user exist) for which you want to add alias and open the user’s profile or you can open user’s profile by searching the user’s ID in the search box.

In the user profile, Click on the first option ‘Account’ as shown in screenshot.
After clicking this tab will expand and you will see many options like Basic information, contact information, add alias etc.
In the Aliases section, you can see add an alias option.Click on Add an alias option.
When you click on add an alias option you will get blank spaces for user name and drop-down for domain names(if you have added domain aliases or secondary domains). Fill the username for alias and select the domain (from drop-down) and click on SAVE CHANGES.
You will get notification on screen ‘Alias has been added successfully’.

